Tea Time: Lemon Cookies

In an attempt to drink less coffee I don’t allow myself to have a cup post lunch. Having said that though, sometimes the work day can drag and we all need a little afternoon pick me up. I have been turning to tea at around 2:30pm daily. (Earl Grey has been my jam although I try to mix it up with Green tea every so often for the antioxidants).

FullSizeRender

Ok so I digress, with tea time I often crave a little snack. So, I thought of doing something sweet, but nothing too heavy that it will make you lethargic for the remainder of your day. When poking around the world wide web I came upon this easy cookie recipe and when I brought them into work I got mouthfuls of thumbs ups and yays from everyone. Hope you enjoy as well! (Also go out and buy a nice tea cup and matching saucer as it makes tea time more special, pretentious, fun etc…I got 4 recently! Some even monogrammed for the true tea snob factor.)

  • 1 box of store bought lemon cake mix
  • 1 lemon’s zest (if you don’t have a zester, a boxed grater works well also)
  • 1 tub of cool whip
  • 1 egg
  • Powdered sugar

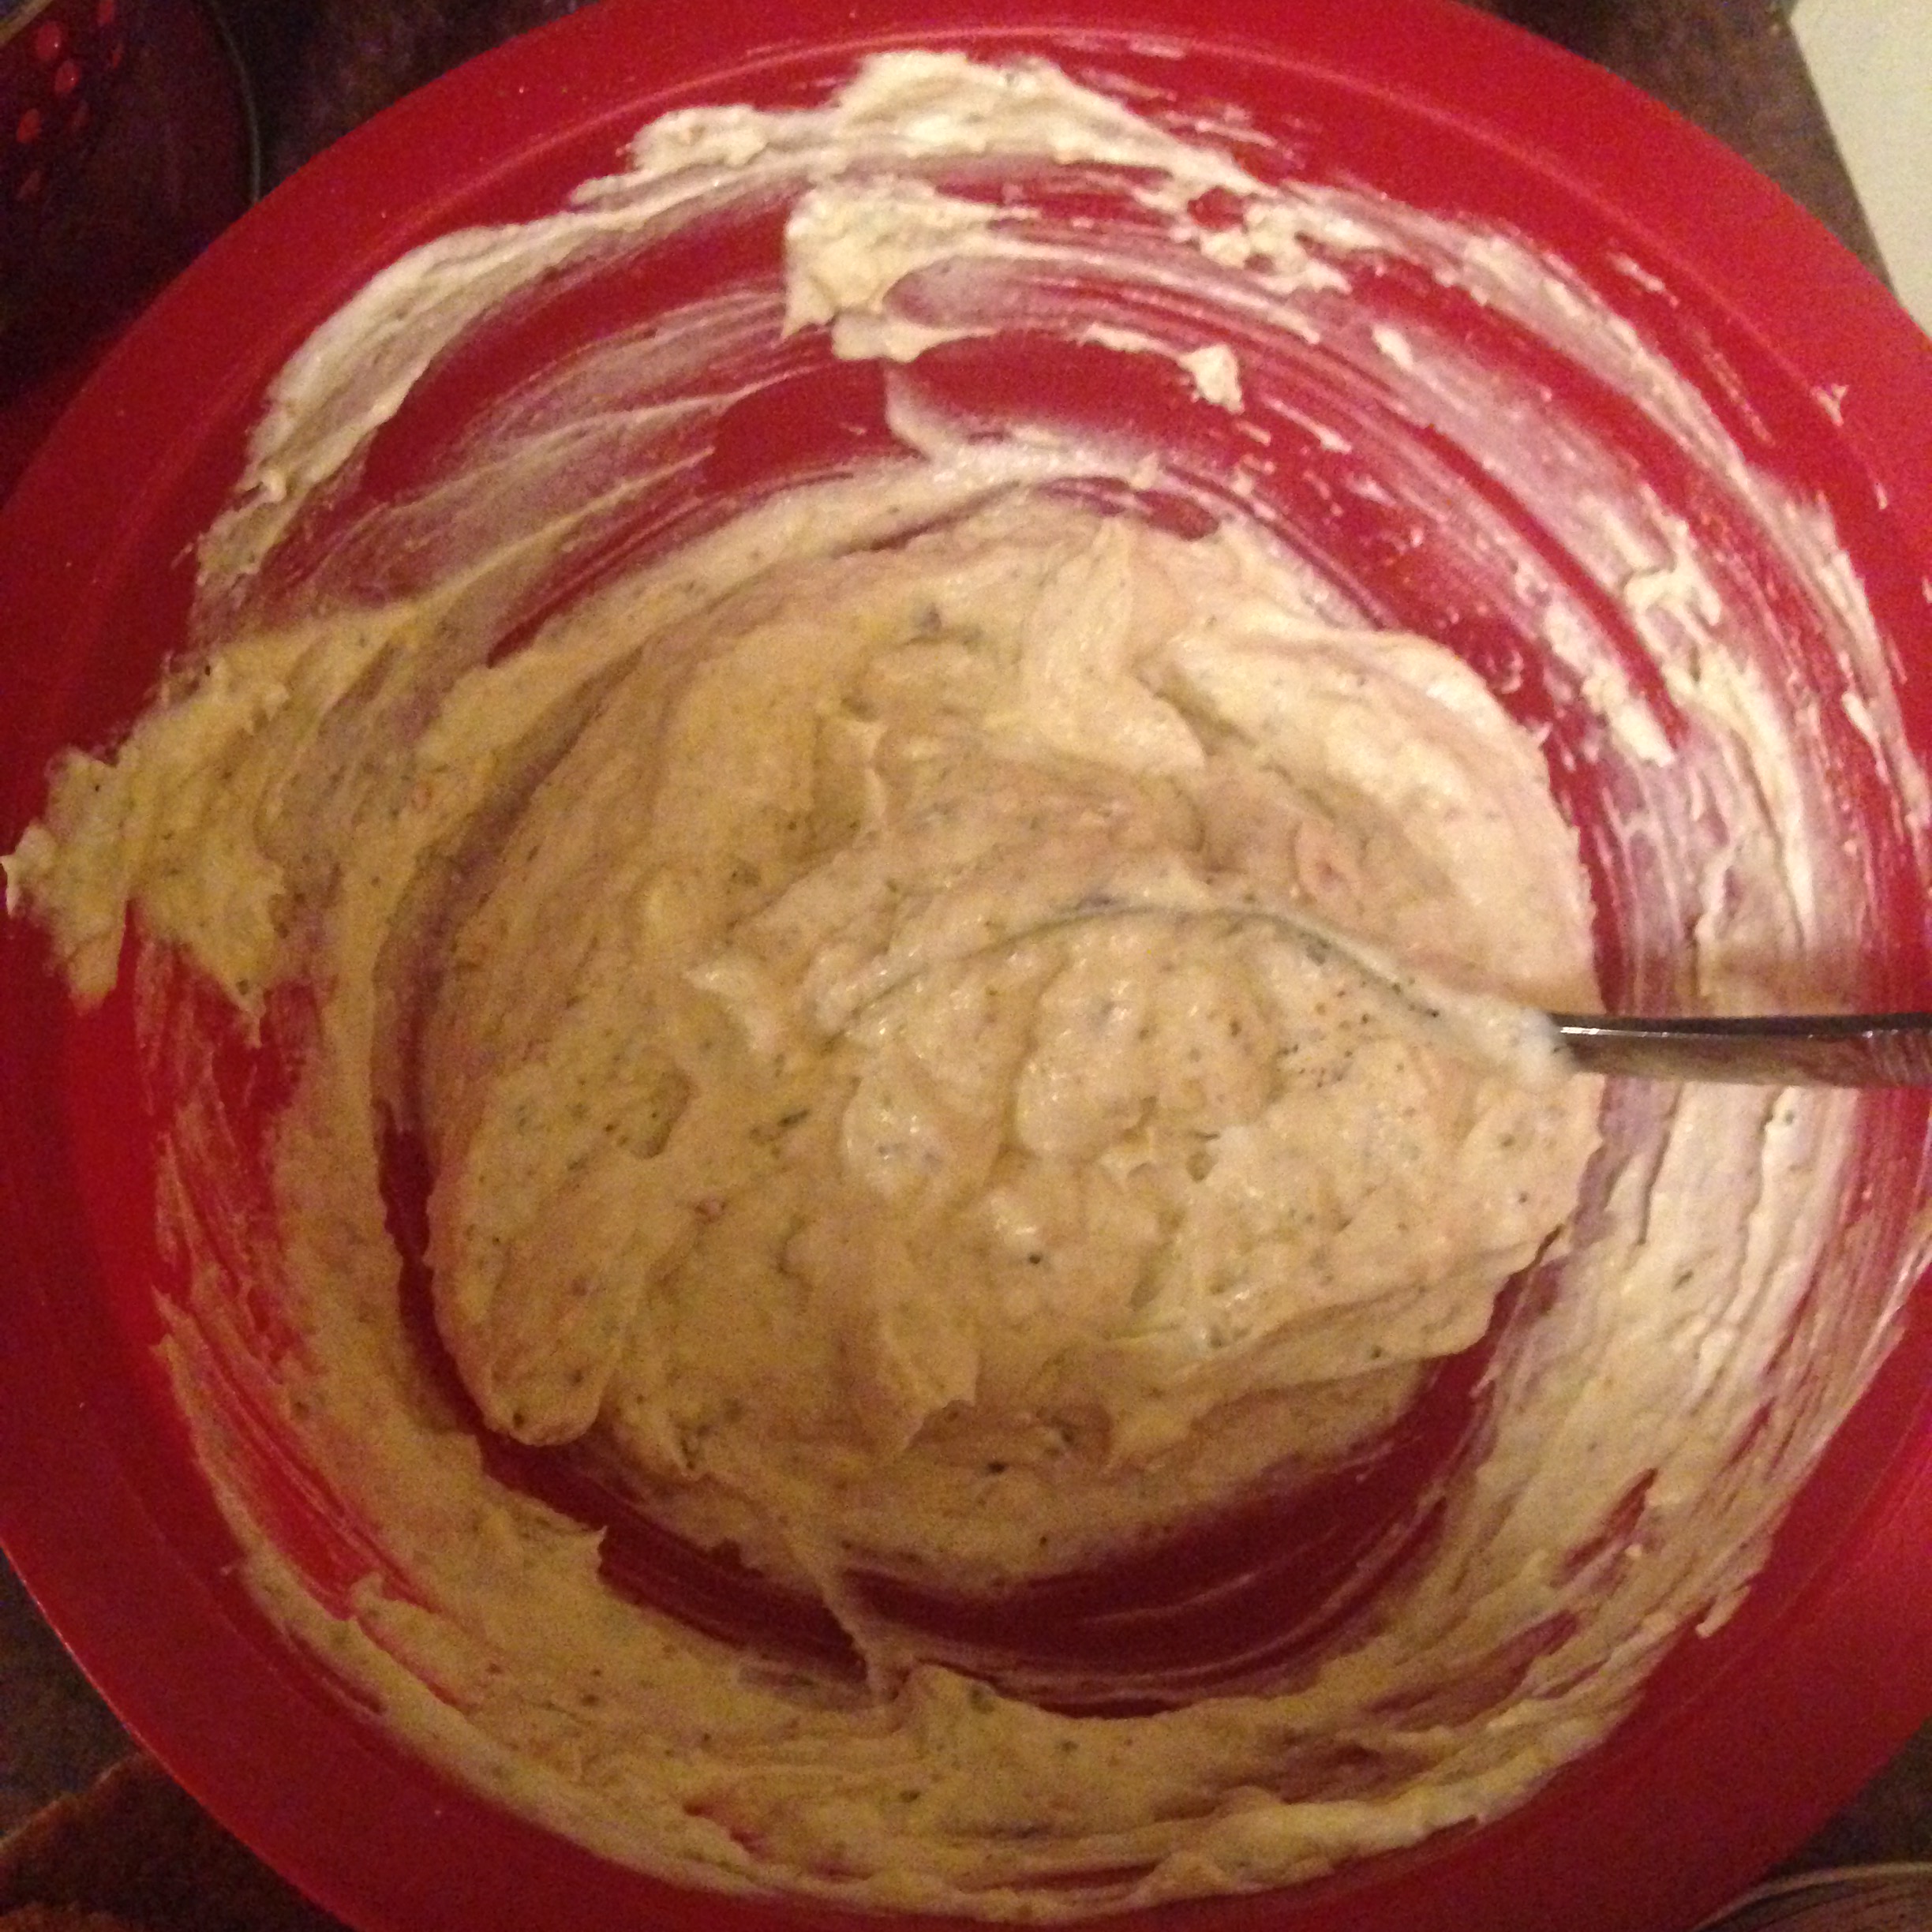
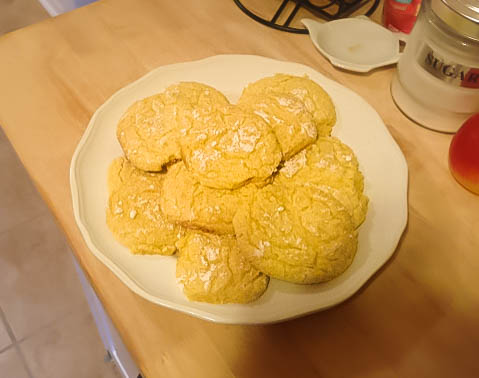
Mix the first 4 ingredients well and the spoon mixture into the powdered sugar. The batter will be very sticky so you will need to coat with the powdered sugar in order to form into balls for baking sheet. I would do a little bowl of powdered sugar in which you can drop the spoonfuls into the bowl, as this can get messy if you don’t have it all set up beforehand. Lay out on a greased cookie sheet and bake at 350 degrees for 10 minutes. Let them sufficiently cool after you remove from oven as they will still be too soft to handle/will break if touched right after cooking.

Lemon tea cookies

Happy Eating, XO.

Roast Beef

Although spring is right around the corner, we’re still fighting this damn winter weather. So now’s the time to sneak in one last comfy, hearty meal before we finally move on to some fresh produce. This recipe is perfect for those days you have countless errands and no time to think about cooking. Thanks to Mama Z for giving us this recipe!

  • 1 three pound roast beef (will feed roughly four people)

Gravy (or you can check out our Pantry Gravy recipe. It’s just as easy.)

  • 1 packet of McCormick onion mix
  • 1 cup water
  • 1/2 cup flour

Preheat your oven to 500 degrees. Place the roast beef on a roasting pan or a pan with high sides and stick in the oven for 20 minutes. Turn off the oven and keep it closed for another 3 hours. The beef will cook slowly while you’re out doing your thing. When you’re ready to eat, heat the water and onion mix in a medium sauce pan. Stir in the flour to thicken it up. Thinly slice the roast beef and either plate it and pour on the gravy, or make an open faced roast beef sandwich by putting it on a piece of Italian bread. The best part is, you may even have some leftover cold cuts for later in the week.


Happy Eating, XO.

Multi-tasker’s Meal

Before you panic at the “long” ingredient list realize it is all things you most likely already have in your pantry & fridge. Its a quick week night meal that you can bake while you change, set the table, throw in some laundry… Or maybe that’s just my game plan for tonight. Anyway, you gotta eat so might as well bake this up and give your taste buds something different than grocery store rotisserie chicken. Although trust me I am not hating, only appreciating how much our age bracket eats that stuff.

  • 4 chicken breasts
  • 1 cup plain greek yogurt
  • 1 tsp of Dijon mustard (so very optional, I just like the tang)
  • 1/2 cup freshly grated parmesan cheese
  • 1 tsp garlic salt
  • 1/2 tsp Mrs. Dash, any flavor
  • 1/2 tsp ground black pepper
  • 1 tsp garlic powder
  • pinch of cayenne pepper (more if you like heat, or even a tsp of sriracha would be good)
  • pinch of dried parsley flakes

Here is the picture of just dumping all those ingredients and combining. IMG_6073

Spoon each chicken breast with the mixture. Make a foil tent for each breast. Bake at 375 degrees for 45 min. For the last 5 minutes take out of foil, baste with juices and broil on low. (I did it on high and started charring the tops of the chicken-not a good look)

My friend made a great suggestion of serving the chicken with the pan juices although I thought the chicken was moist enough without making my plate messy with extra sauce. I am also nuts on plate presentation though so I’m probably wrong here on the taste scale.

Happy Eating, XO.

Mouth Party

I had this at a new years eve party and its almost March and I am still thinking about it. I have problems I know. Anyway, I hit my buddy up and asked him how he made it and he turned me to this cool site. They have all sorts of recipe ideas so I went ahead and made these for a dinner party. Came out so yum, but two tips I have is to make sure the artichokes are properly dried (I had water squirt out when I bit into it, not cute and very hot!) My other tip is also in regards to moisture, make sure the chilies are dried from adobo sauce because the seeds have a lot of heat and you don’t want to over power the aioli, just give it a kick. Anyway, here is the party appetizer that will taste like a party in your mouth!

  • 2 (14 ounce) jar/can of whole artichoke hearts
  • 10 slices bacon, halved crosswise
  • 1/2 cup shredded Parmesan cheese
  • 1/2 teaspoon black pepper

Dipping Sauce aka Chipotle Aioli

  • 3/4 cup mayonnaise
  • 1 clove garlic, minced or grated (I did 2 because I’m crazy and LOVE garlic)
  • 1 teaspoon honey
  • 1 whole canned chipotle chiles in adobo, minced

2014-01-28-artichoke-bites-10-680x324
*photo from Tablespoon, where this recipe idea originated from.

Preheat oven to 400 degrees F. Then set up the bacon strips on a baking sheet lined with foil. Sprinkle the bacon with Parmesan. Place the artichoke heart in the center of each bacon strip. Wrap the bacon around the artichoke and, if you are clumsy and cant wrap then feel free to secure the bacon with a toothpick. Sprinkle the bites with a little Parmesan and pepper. Bake for 45 minutes, or until bacon is crispy. Meanwhile combine the mayo, garlic, honey, minced chipotle chiles and a pinch of pepper in a medium bowl. Stir until combined and smooth. Transfer to a dipping bowl and place in the fridge until ready to use.

Happy Eating, XO

Sassy Fish

Hopefully everyone is full of chocolate from V-day and is now ready for eating better. As we know, fish is a staple to eating healthier, but I have a really a good twist on a basic pan seared fish recipe! I love it because its a lil sweet & spicy and I think it resonates with me/my personality. I’m a sassy girl! Overall I am sweet, but I have a lil fiery side to me as well. I also love this fish idea because it totally came out of no where when I was rummaging through my mom’s fridge over the holidays.

  • 2 5-6oz filets of a “meaty” fish (so think salmon, tuna, halibut and not tilapia or cod because they are more flaky)
  • 1 tbsp. minced garlic (3 cloves?)
  • 2 tbsp. minced onions (yellow, Spanish, shallots, whatever you want)
  • 1 tsp. sriracha (more if you like it spicier vs. sweeter)
  • 1 tbsp. olive oil
  • 1 tbsp. soy sauce
  • 3 tbsp. mango chutney (I use the brand Patak’s Major Grey Mango Chutney, but really any one would work)
  • Pinch of black pepper

In a small sauce saucepan simmer the chutney, soy, sriracha, garlic, and onions. This will not only marry all the flavors, but it will thin out the consistency since the chutney is chunky with pieces of mango in it. Think about 3-5 minutes. While that is happening coat the fish with olive oil and pepper (no salt really needed because of the sodium in the soy). Start to sear in a hot non-stick pan. Reduce the flame on the saute pan and add the sauce to the fish, finish cooking the filets with the sauce in pan. Approximately 10-12 min. of total cook time for fish.

Happy Eating, XO.