Grilled Cajun Corn

Now that we’re in the thick of summer, who’s getting just a little tired of the usual corn on the cob? (*Raises both hands.) Don’t get me wrong, I will never turn down the classic summer food, but it’s high time we spice it up – literally.

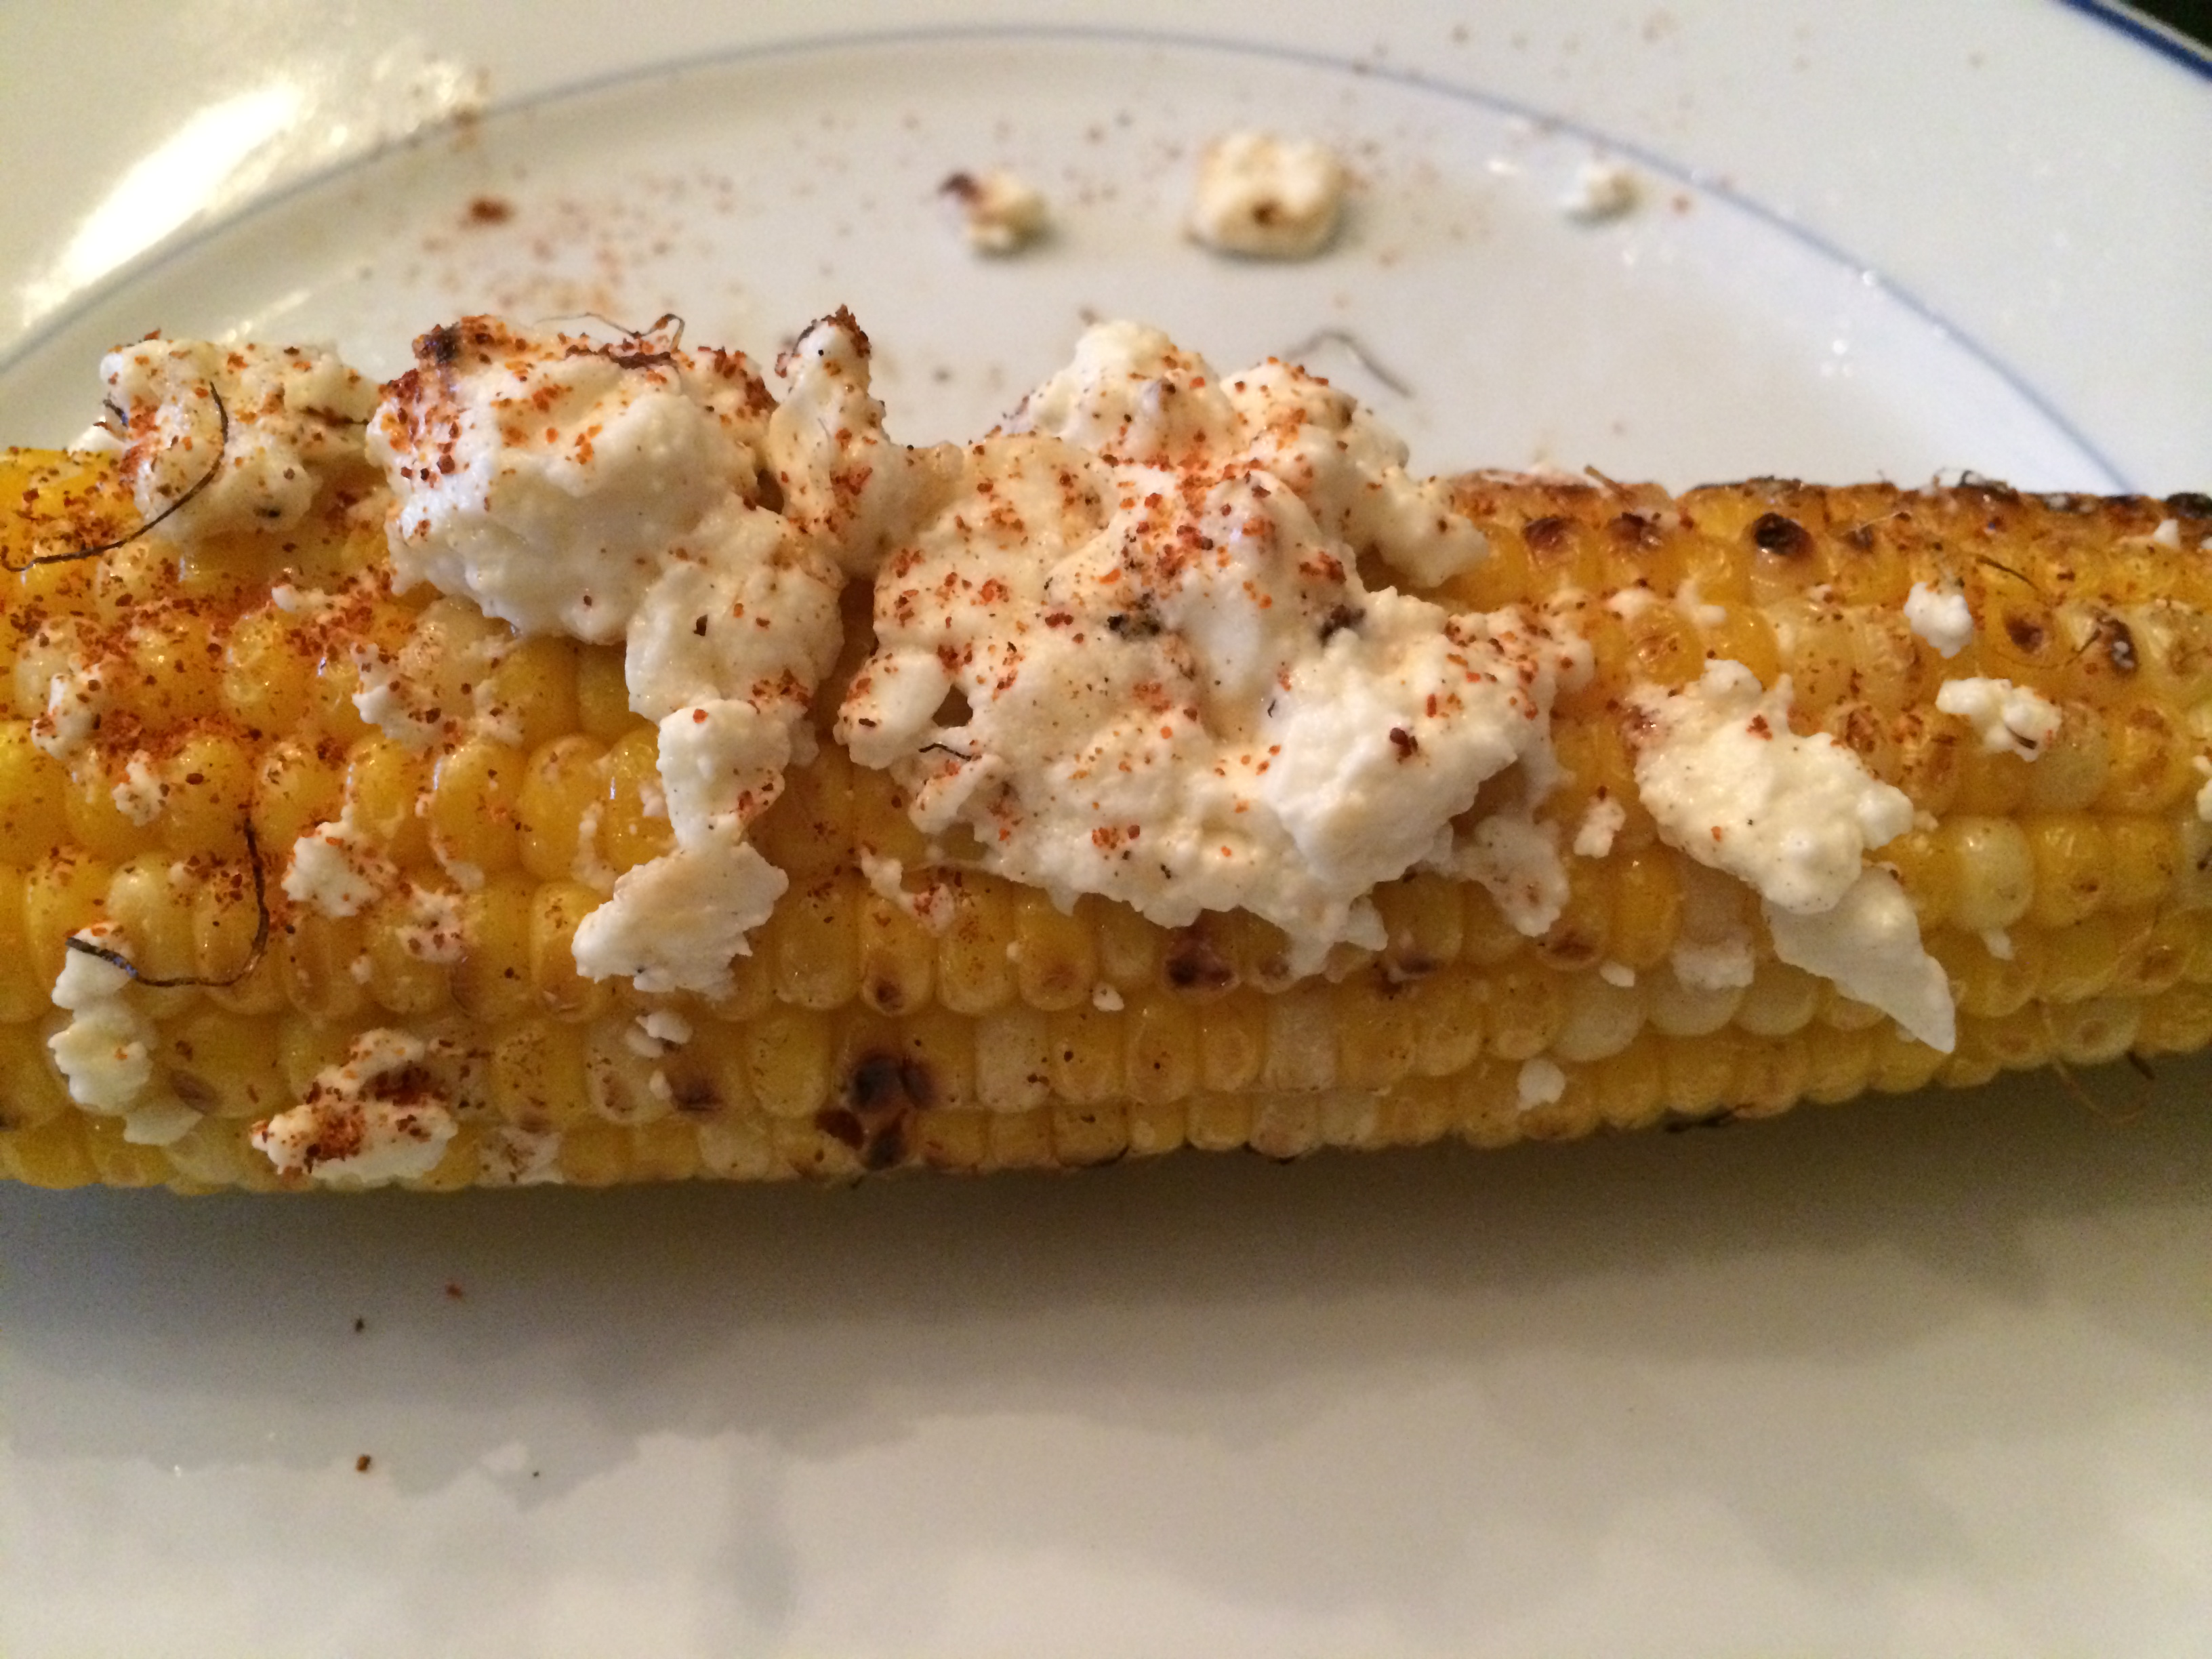
I had something similar to this corn on the cob at my favorite local restaurant, Bar Taco, and wanted to recreate it. I don’t know all of the spices they put on theirs, but I have to say this one turned out pretty darn close and still just as damn delish.

  • 2 corn on the cob
  • 1/4 cup Feta cheese (If you don’t have Feta or find it too salty, Contija cheese is a great substitute too!)
  • 1 lime (to squeeze the juice on top)
  • 1 tsp chili powder
  • 1 tsp cayenne pepper

Fire up the grill and get it good and hot (let it preheat for about 5 minutes on high). Put the corn directly on the hot grill, rotating every 5 minutes to get a nice char all around. In between rotating, squeeze lime juice on top.

You shouldn’t need more than 15 minutes until it’s done. In the final minute spread the feta (or Contija) on top of the corn. This will melt the cheese a bit and get it to stick to the corn. Remove from the grill and sprinkle on the chili and cayenne pepper.

Grilled cajun corn


Happy Eating, XO.

Home-made EASY Tapa

So apparently the Italians aren’t the only ones that do cheese sticks. One night when I was in Madrid last month, the kitchen was closed at this local bar and the owner said he would whip us up yummy Venezuelan tapas. (Tapas literally just mean small plates). So much to our surprise these tapas were pretty much the Latin version of a cheese stick that they served with this slap your mama good aioli. I swear we crushed them in under 5 minutes so ofcourse I had to come home and try & replicate them immediately.

  • Store bought string cheese (4 sticks since you will be cutting them in half for 8 servings. I say use a mozz and don’t get fancy with any Colby Jack)
  • Store bought garlic flavored crescent rolls (don’t do the regular, these are more buttery & flavorful)

photo 2

Literally use the same method from the pizza roll ups, but just with the cheese and dough. Also make sure that the cheese is sealed in by the dough and nothing can ooze out when baking. The pizza roll ups were more free to form whereas in this recipe you want the cheese locked inside the dough. Bake at 350 degrees for 5-10 min. (until golden not brown). Let them cool for 3-5 min before serving.

Aioli (I think this is how its made, no clue since the guy barely spoke English, but it tasted like this so I cant be that far off)

photo 1

  • 1/4 cup of plain yogurt (don’t do greek, its too thick & tangy)
  • 1 tbsp. of mayo
  • 1 tbsp. of crushed garlic
  • 1 shallot (dice it a bit so it breaks down easier in the processor or blender)
  • pinch of salt, black pepper, and dried parsley

Blend in food processor & serve chilled.

photo 3

Happy Eating, XO.

Patriotic Summer Salad

Ok guys, it’s theme party time – everything red, white, and blue! I’m a total sucker for these kinds of parties and love creating new recipes for them. Usually I would do some kind of cupcake, but those are sooo last year. (Although, I’ll never rule them out completely. Cupcakes hold a special place in my heart. Cupcakes forever!) Anyway, rather than putting out a boring ol’ salad – lettuce, cucumbers, tomatoes – show some USA spirit with this fruity patriotic salad.

Salad

  • 1 bag of mixed greens (or spinach, whatever your choice of greens are)
  • 2 cups of chopped strawberries
  • 2 cups of blueberries
  • 3/4 cup pine nuts

Dressing

  • 1/4 cup olive oil
  • 3/4 cup grapefruit juice
  • 1 tbsp herb mixture or just a salt and pepper mix

Toss the salad and mix the dressing separately. Pour the dressing on right before serving.

Patriotic summer salad


Happy Eating (and Happy 4th of July!), XO.

Roasted Chick Peas

The other day I was cleaning out my cabinets and I found a can of chick peas in the back. (Calm down, it was still well within the expiration date when I used it.) Anyway, I figured I should prob use it before I forgot about it again.

I used half of the can to make our chic pea salad. And the other half I decided to roast as a yummy “pop-in-your-mouth” treat.

1 can of chick peas
2 tsp olive oil
2 tsp sea salt
2 tsp dried rosemary

Preheat the oven to 350. Drain and pat dry the chic peas, then toss in the olive oil. (Don’t try to use the liquid that’s in the chic pea can in lieu of the oil. They’ll dry out in the oven if you do.) Spread the chic peas on a baking sheet and sprinkle with the salt and rosemary. Bake for 30 minutes or until they look crispy and brown.

20140524-125504-46504476.jpg

Happy Eating, XO.

Crispy Kale Chips

Over the weekend I had kale chips for the first time. I fully expected not to like them (bitter greens as chips? Palease).  But, I loved them! (Surprisingly my husband did too. This is so far from normal for him, but they were THAT good.) Seeing that we both liked them so much, I of course wanted to make them myself and share the wealth with you lovely readers. So here they are!

  • 1 bunch of fresh kale (remove leaves from the stalk and cut in to bit sized pieces)
  • 1 tbsp olive oil (you could also use a teeny tiny bit of truffle oil if you’re feeling adventurous)
  • 1 tsp course sea salt

Preheat oven to 350 degrees. Toss kale in olive oil until fully covered, and spread out on a cookie sheet. Sprinkle with sea salt and bake for 10-15 minutes, or until edges of the leaves are brown.

Kale chips

Happy Eating, XO.