Vanilla Pistachio Crusted Tilapia

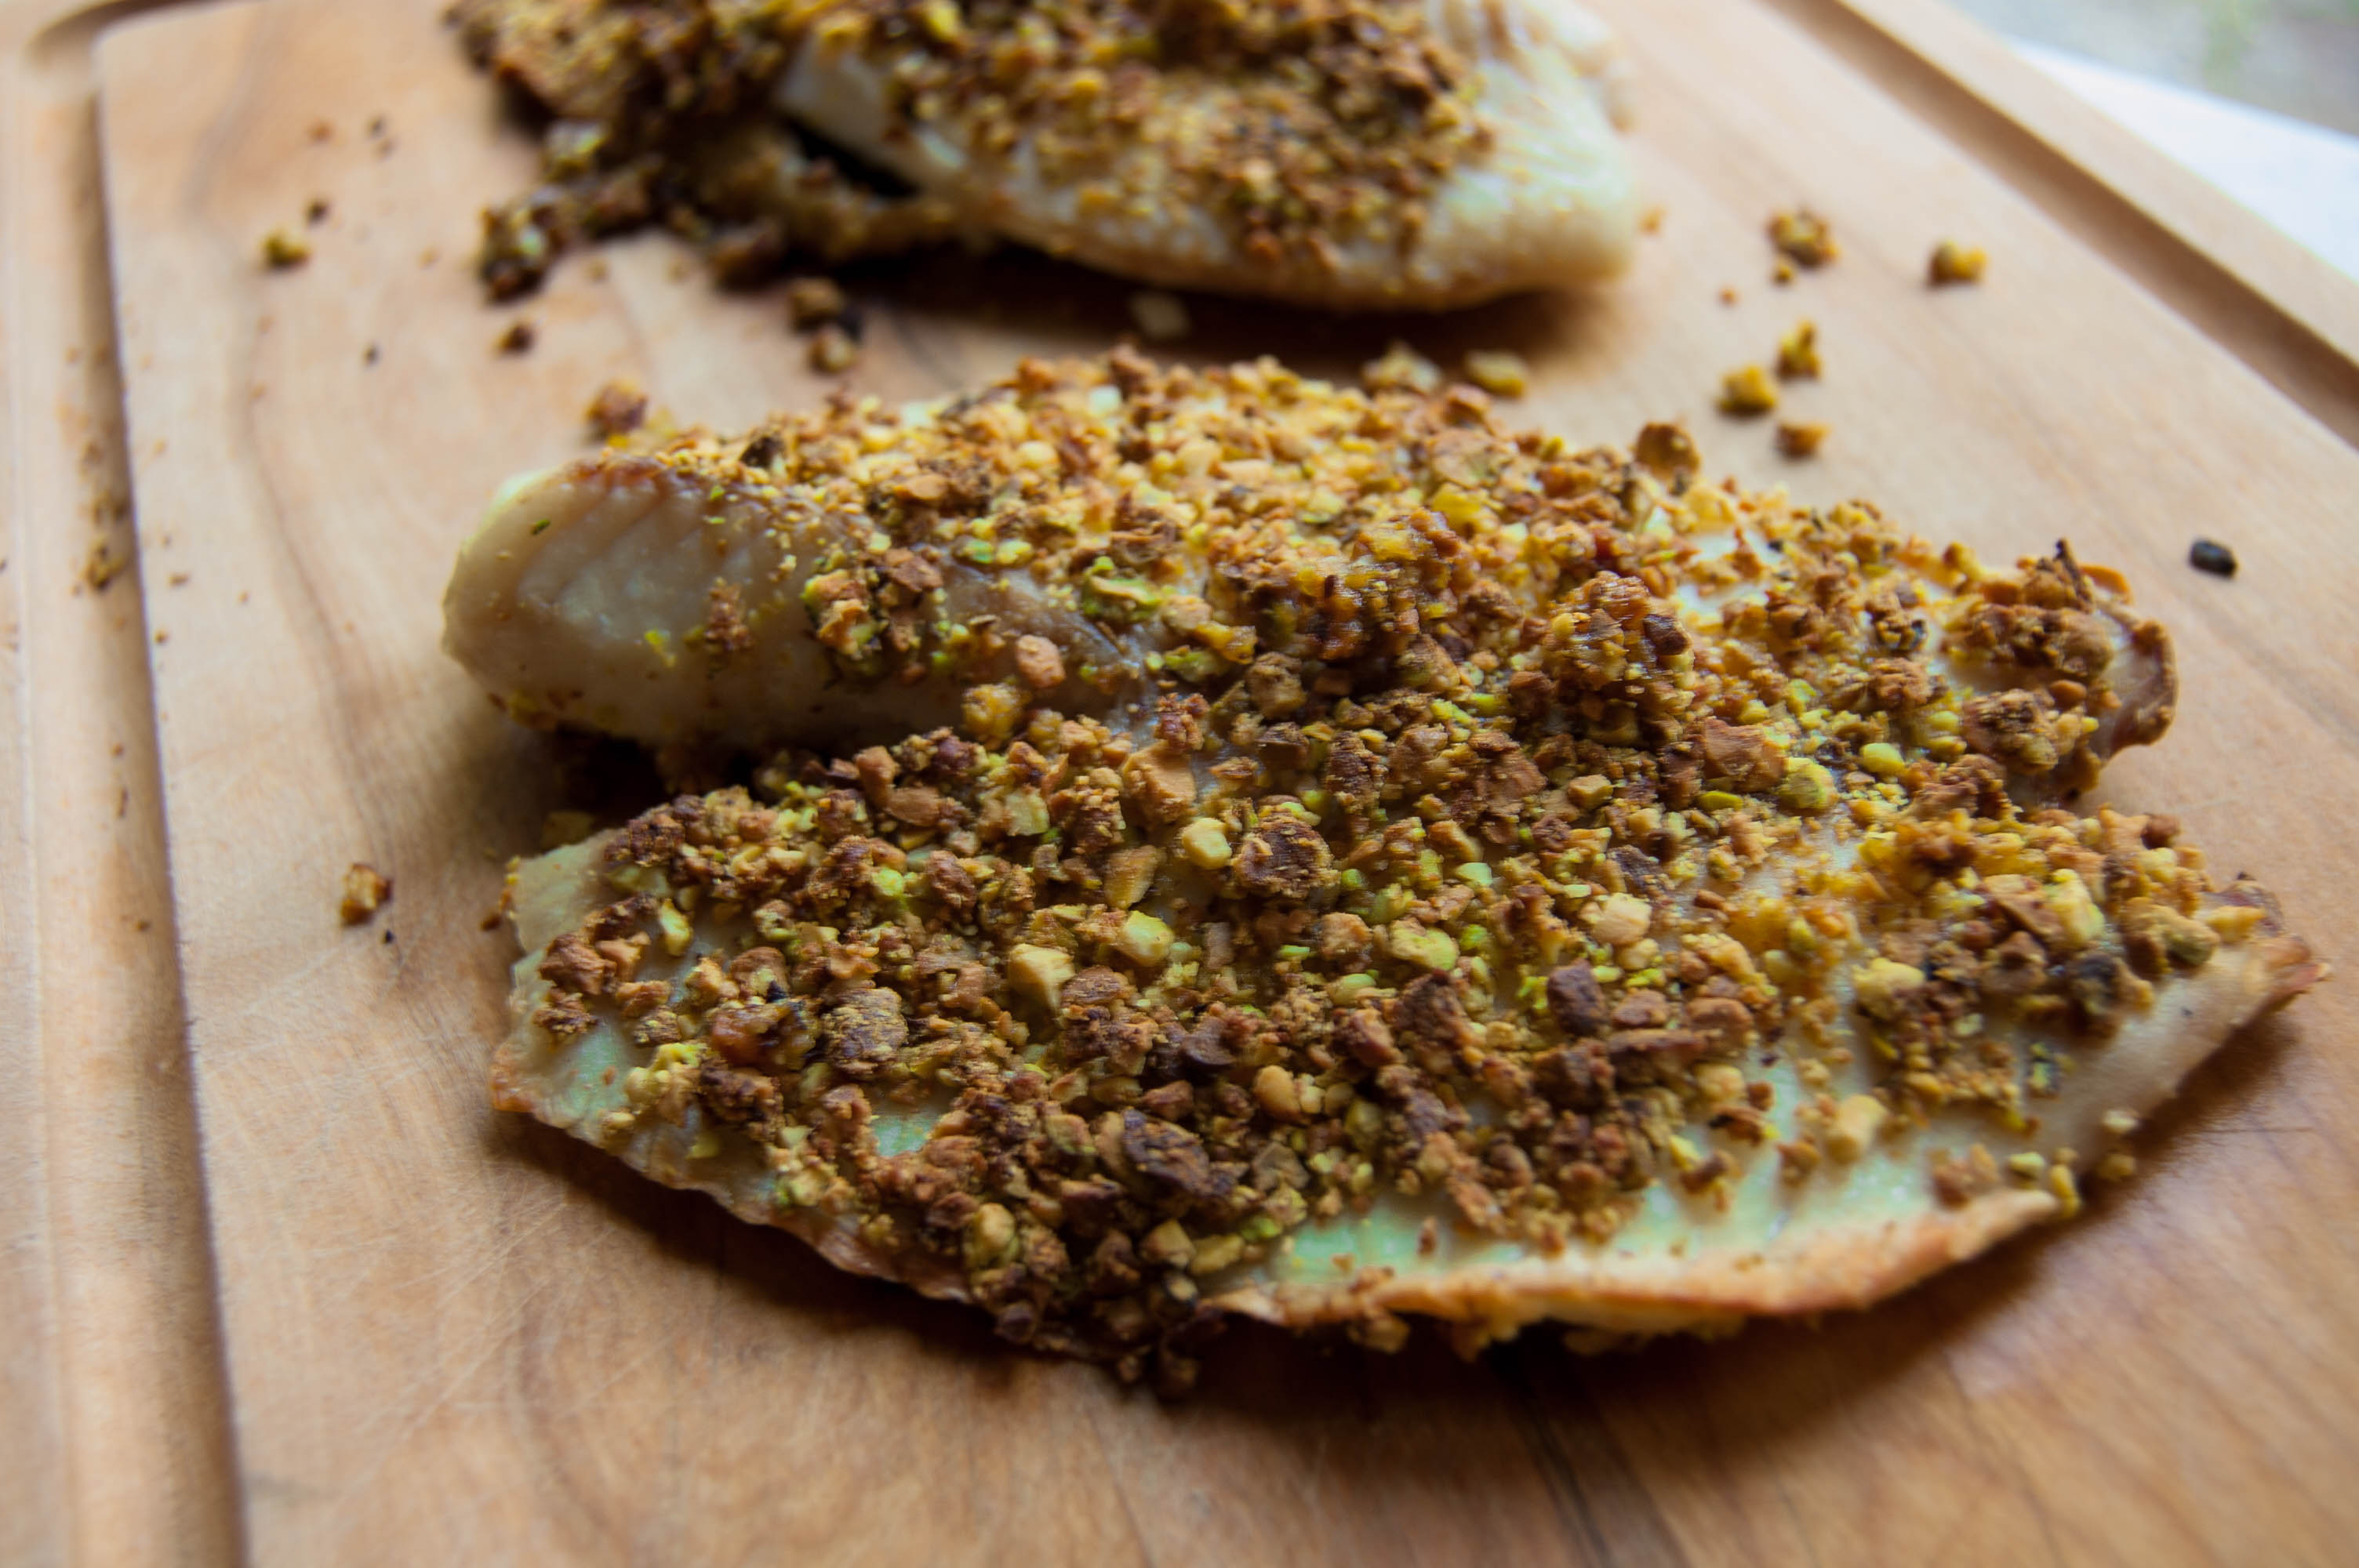
Vanilla pistachio tilapia…try saying that ten times fast! Or try making it four times like I did just to get this recipe right. I’ve never been more determined with a recipe than I was with this one. This used to be served at one of our favorite restaurants and they replaced it with swordfish. It’s still good but just not the same without the tilapia. So, of course, I tried recreating it so I could still enjoy it along with all of you! I know you’re probably thinking “vanilla with fish?” but the sweetness of the vanilla is played right along with the saltiness of the pistachios. It’s not like you’re eating a vanilla frosting with the fish…that’s just wrong.

Now, the reason it took me four tries with this recipe is because I kept burning the pistachios. You gotta keep a close eye on it, but I promise it’s worth it. God speed!

  • 2 tilapia filets
  • 2 cups pistachios
  • 1 tbsp vanilla extract
  • 1 tbsp olive oil
  • Salt and pepper

Set your broiler to low and grease a baking sheet. Pat the tilapia dry and lightly brush the olive oil onto both sides. In a food processor or small blender, pulse the pistachios and vanilla extract together in to small bits, almost to a powder. You can also hand crush the pistachios by placing them in a plastic bag and crushing them with a mallet. (We need to get our anger out somehow…). Once combined, roll the tilapia in the pistachio mixture and place on the greased baking sheet. Cook the tilapia on the bottom shelf of your oven for 8 minutes. Turn the broiler off and keep the oven door shut for the next 5 minutes. As I mentioned earlier, keep a careful eye on it though, you don’t want it to burn.

Vanilla Pistachio Crusted Tilapia

Happy Eating, XO.

Herbaceous Cod

I came across this recipe in search for a cheaper white fish for me to eat on weeknights. I love salmon, don’t get me wrong, but it’s literally the only fish I make. I don’t like tilapia, halibut, or catfish and Chilean sea bass is way too much for the wallet, so someone had suggested trying cod and swordfish. So that is when I took to finding a quick way to prep it and eat on a summer evening. This is real good because the fish stands up to the strength of the fresh herbs but isn’t too fishy/meaty either. I am going to work on some swordfish or mahi mahi next so stay tuned and start following the blog for updates!

  • 2 lbs. cod fillets
  • 1/3 cup real mayonnaise
  • 1/3 cup freshly grated Parmigianno Regianno cheese {no pre-grated cheese, please!}
  • 2 tablespoons each chopped fresh parsley and basil
  • 1 medium clove garlic, grated
  • salt and pepper, to taste

Preheat oven to 450 degrees. In a small bowl, stir mayonnaise together with cheese, fresh herbs, garlic, salt and pepper until combined. Spread evenly over the top of the fillets. Bake 10-12 minutes or until fish starts looking opaque and will flake. Switch oven to broiler and brown the tops of the fish until lightly golden.

cod

Happy Eating, XO.

Stuffed Tator

This isn’t just any old meat and potatoes recipe. This is an Italian twist on the American version of a chili and cheese topped baked potato. I also love this meal because its a one pot, easy, fast, and filling week night dinner. I was inspired from a food network recipe that this originates from and just cant get enough of it.

  • 1/2 pound hot Italian sausage out of the casing (you can also use sweet Italian sausage if making for kids)
  • 4 baked potatoes
  • Arugula
  • Chopped medium yellow onion
  • 2 cloves of garlic
  • Jar of marinara
  • 1/2 cup of marscapone
  • Grated parmesano reggiano

Sweat the onions and garlic in some olive oil. Once they are translucent add the ground sausage to brown. Cook down the arugula when adding the marinara sauce. Then stir in the marscapone cheese, to make the sauce a pinky blush color. In the mean time bake the potatoes in the oven and split in half when slightly cooled.


Happy Eating, XO.

Shrimp Tacos with Mango Salsa

Last year we gave you fish tacos (which we’re still dreaming about). So this year, we’re bringing you shrimp tacos! Btw, can we talk about how an entire year has already gone by?! Anyway…here is your unofficial official “summer taco”.

*Makes 4 tacos.

Tacos

  • 16 pieces of small shrimp, peeled
  • 1/2 tsp chili powder
  • 1/2 tsp cayenne pepper
  • 1/2 tsp ground cumin (If you need a reason to keep cumin stocked, we have you covered.)
  • 1/2 tsp sea salt
  • 4 corn tortillas

Mango salsa

  • 1 small red onion, chopped
  • 1 tbsp cilantro, chopped
  • 1 mango, pitted and diced
  • 1 avocado, pitted and diced
  • 1 small tomato, diced

*For a more “island” taste, toss in 1 tbsp of coconut milk.

In a bowl, toss together your chopped and diced ingredients for the salsa – onion, cilantro, mango, and avocado. Set aside. Whisk together the spices for the tacos – chili powder, cayenne pepper, cumin and sea salt. Toss the shrimp in the spicy mixture until fully covered. Throw the shrimp on the grill for approximately 4 minutes (2 minutes per side) until cooked and slightly charred. Just before the shrimp is done cooking, heat the tortillas on the grill. Layer the shrimp on the tortilla, and top with the mango salsa. Enjoy with our ginger beer and tequila cocktail!

Shrimp Tacos

Happy Eating, XO.

Finger lickin’ good pulled pork

Have you ever seen those commercials where people are eating a sloppy sandwich, it’s falling everywhere, and they lick their fingers and laugh? Yeah. You may just do the same after eating this pulled pork sandwich. Fine, I may be over dramatizing it a little bit. But what I’m not over dramatizing is how good this thing is, not to mention easy.

By now you’ve heard everyone and their mother say, “Don’t put away your crock pot just yet!”. Well, don’t. Just because it’s summer doesn’t mean our schedules get any less hectic. And the crock pot makes this pulled pork just the right amount of tender to be finger lickin’ good.

*Makes roughly 4 sandwiches.

  • 2 lbs. pork loin
  • 1 can (14.5 oz) beef broth
  • 2 cups of water
  • 1 cup BBQ sauce
  • 1/4 cup ketchup (Heinz, duh)
  • 1 tsp white wine vinegar
  • Hamburger buns (potato buns are the best)

Place the pork in the crock pot and cover with the can of beef broth and water until fully submerged. Cook on low for 8-10 hours. When ready, scoop the pork out of the broth in to a bowl. It should be falling apart at this point. Pour the BBQ sauce, ketchup and vinegar over the pork and mix until fully combined. The pork will be “pulled” apart during this process. Spoon onto the bun and enjoy!

Pulled Pork Sandwich

Happy Eating, XO.