Caprese Pull-Apart Bread

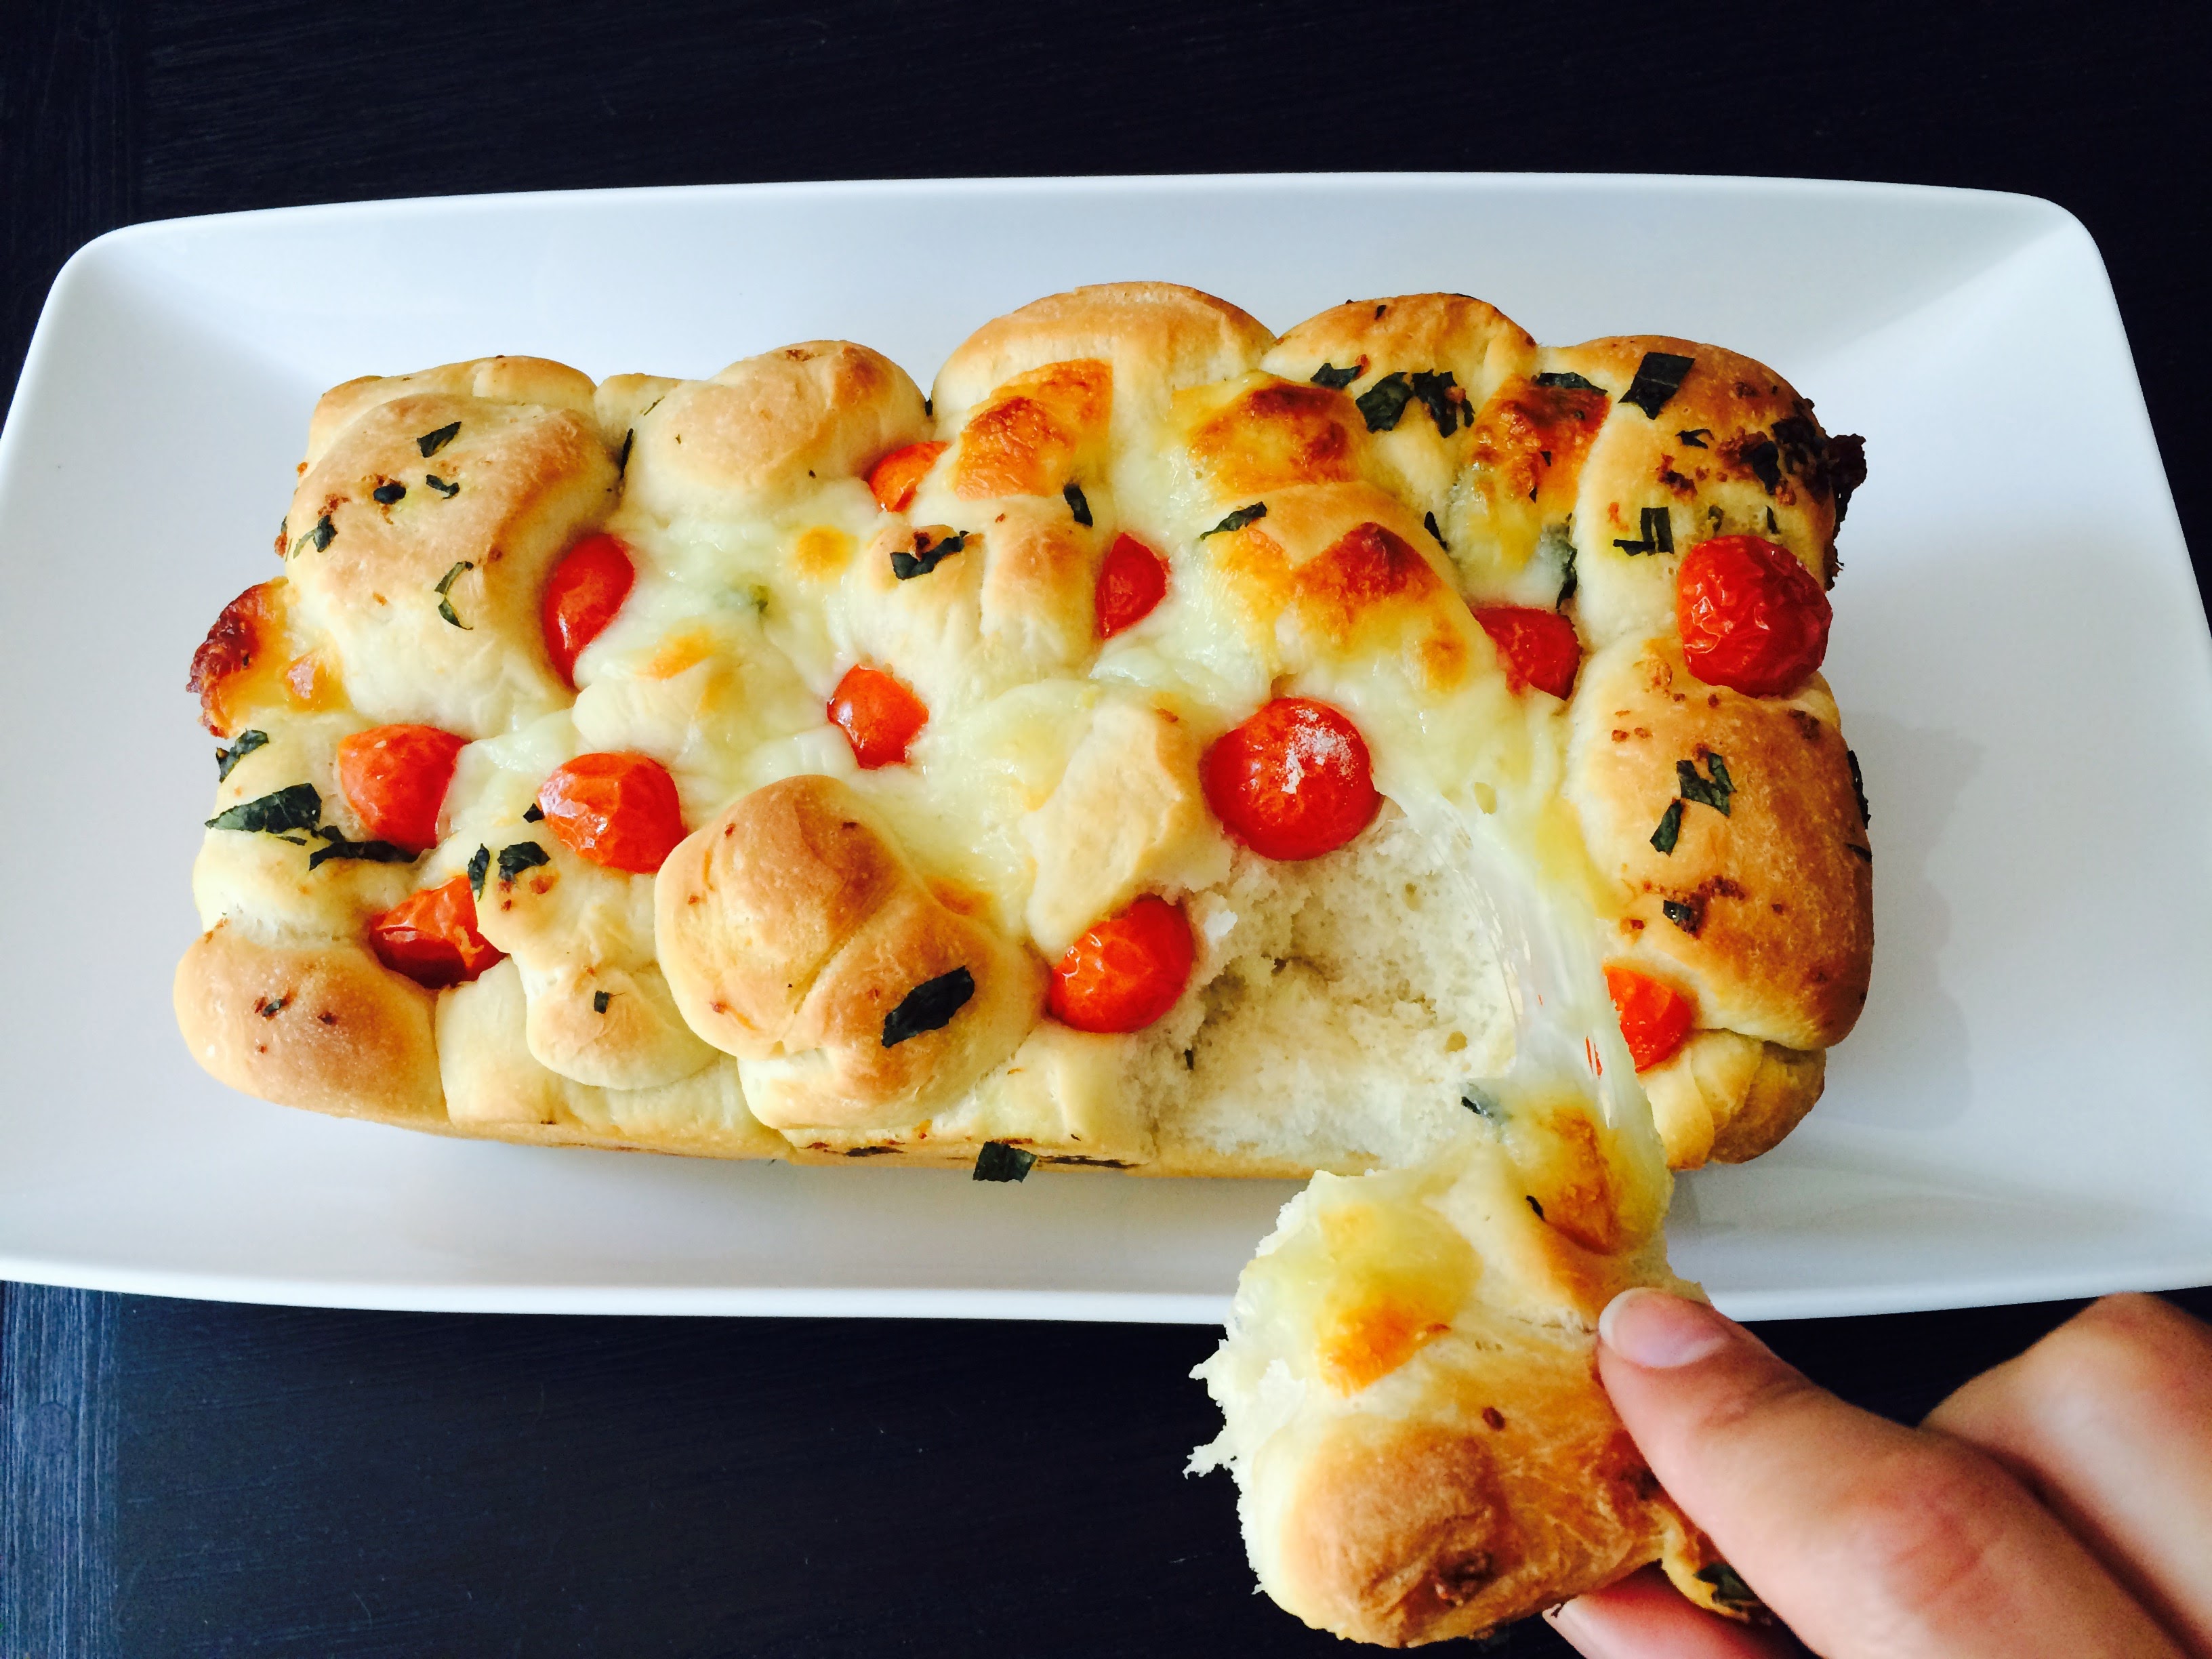
Any of you out there grown your own cherry tomatoes? (Raises hand.) Do you also feel overwhelmed by the amount that are ripening right now? I can’t eat them plain or in salads fast enough, or give enough away to neighbors. If I see just one sad tomato on the ground, I feel like a failure. I need to make sure I get ALL of them. And eat ALL of them. It’s becoming impossible. SO. I had to get creative. Enough with eating tomatoes, mozz, and basil. We need to take it to another level. Enter in – caprese pull apart bread. It’s doughy, chewy, and surprisingly refreshing. Perfect for a party, side dish at a BBQ, or just an excuse to use up those tiny tomatoes.

  • 2 cups flour
  • 1 tsp dry active yeast
  • 1 cup warm water
  • 1 tsp sugar
  • 1 tbsp unsalted butter, melted
  • 1/2 cup milk
  • Dash of salt
  • 1 cups olive oil
  • 1/4 cup chopped basil
  • 1 cup cherry tomatoes, whole
  • 1 cups olive oil
  • Dash of pepper
  • 1/4 cup basil, chopped
  • 2-3 cups shredded mozzarella

To make the dough:

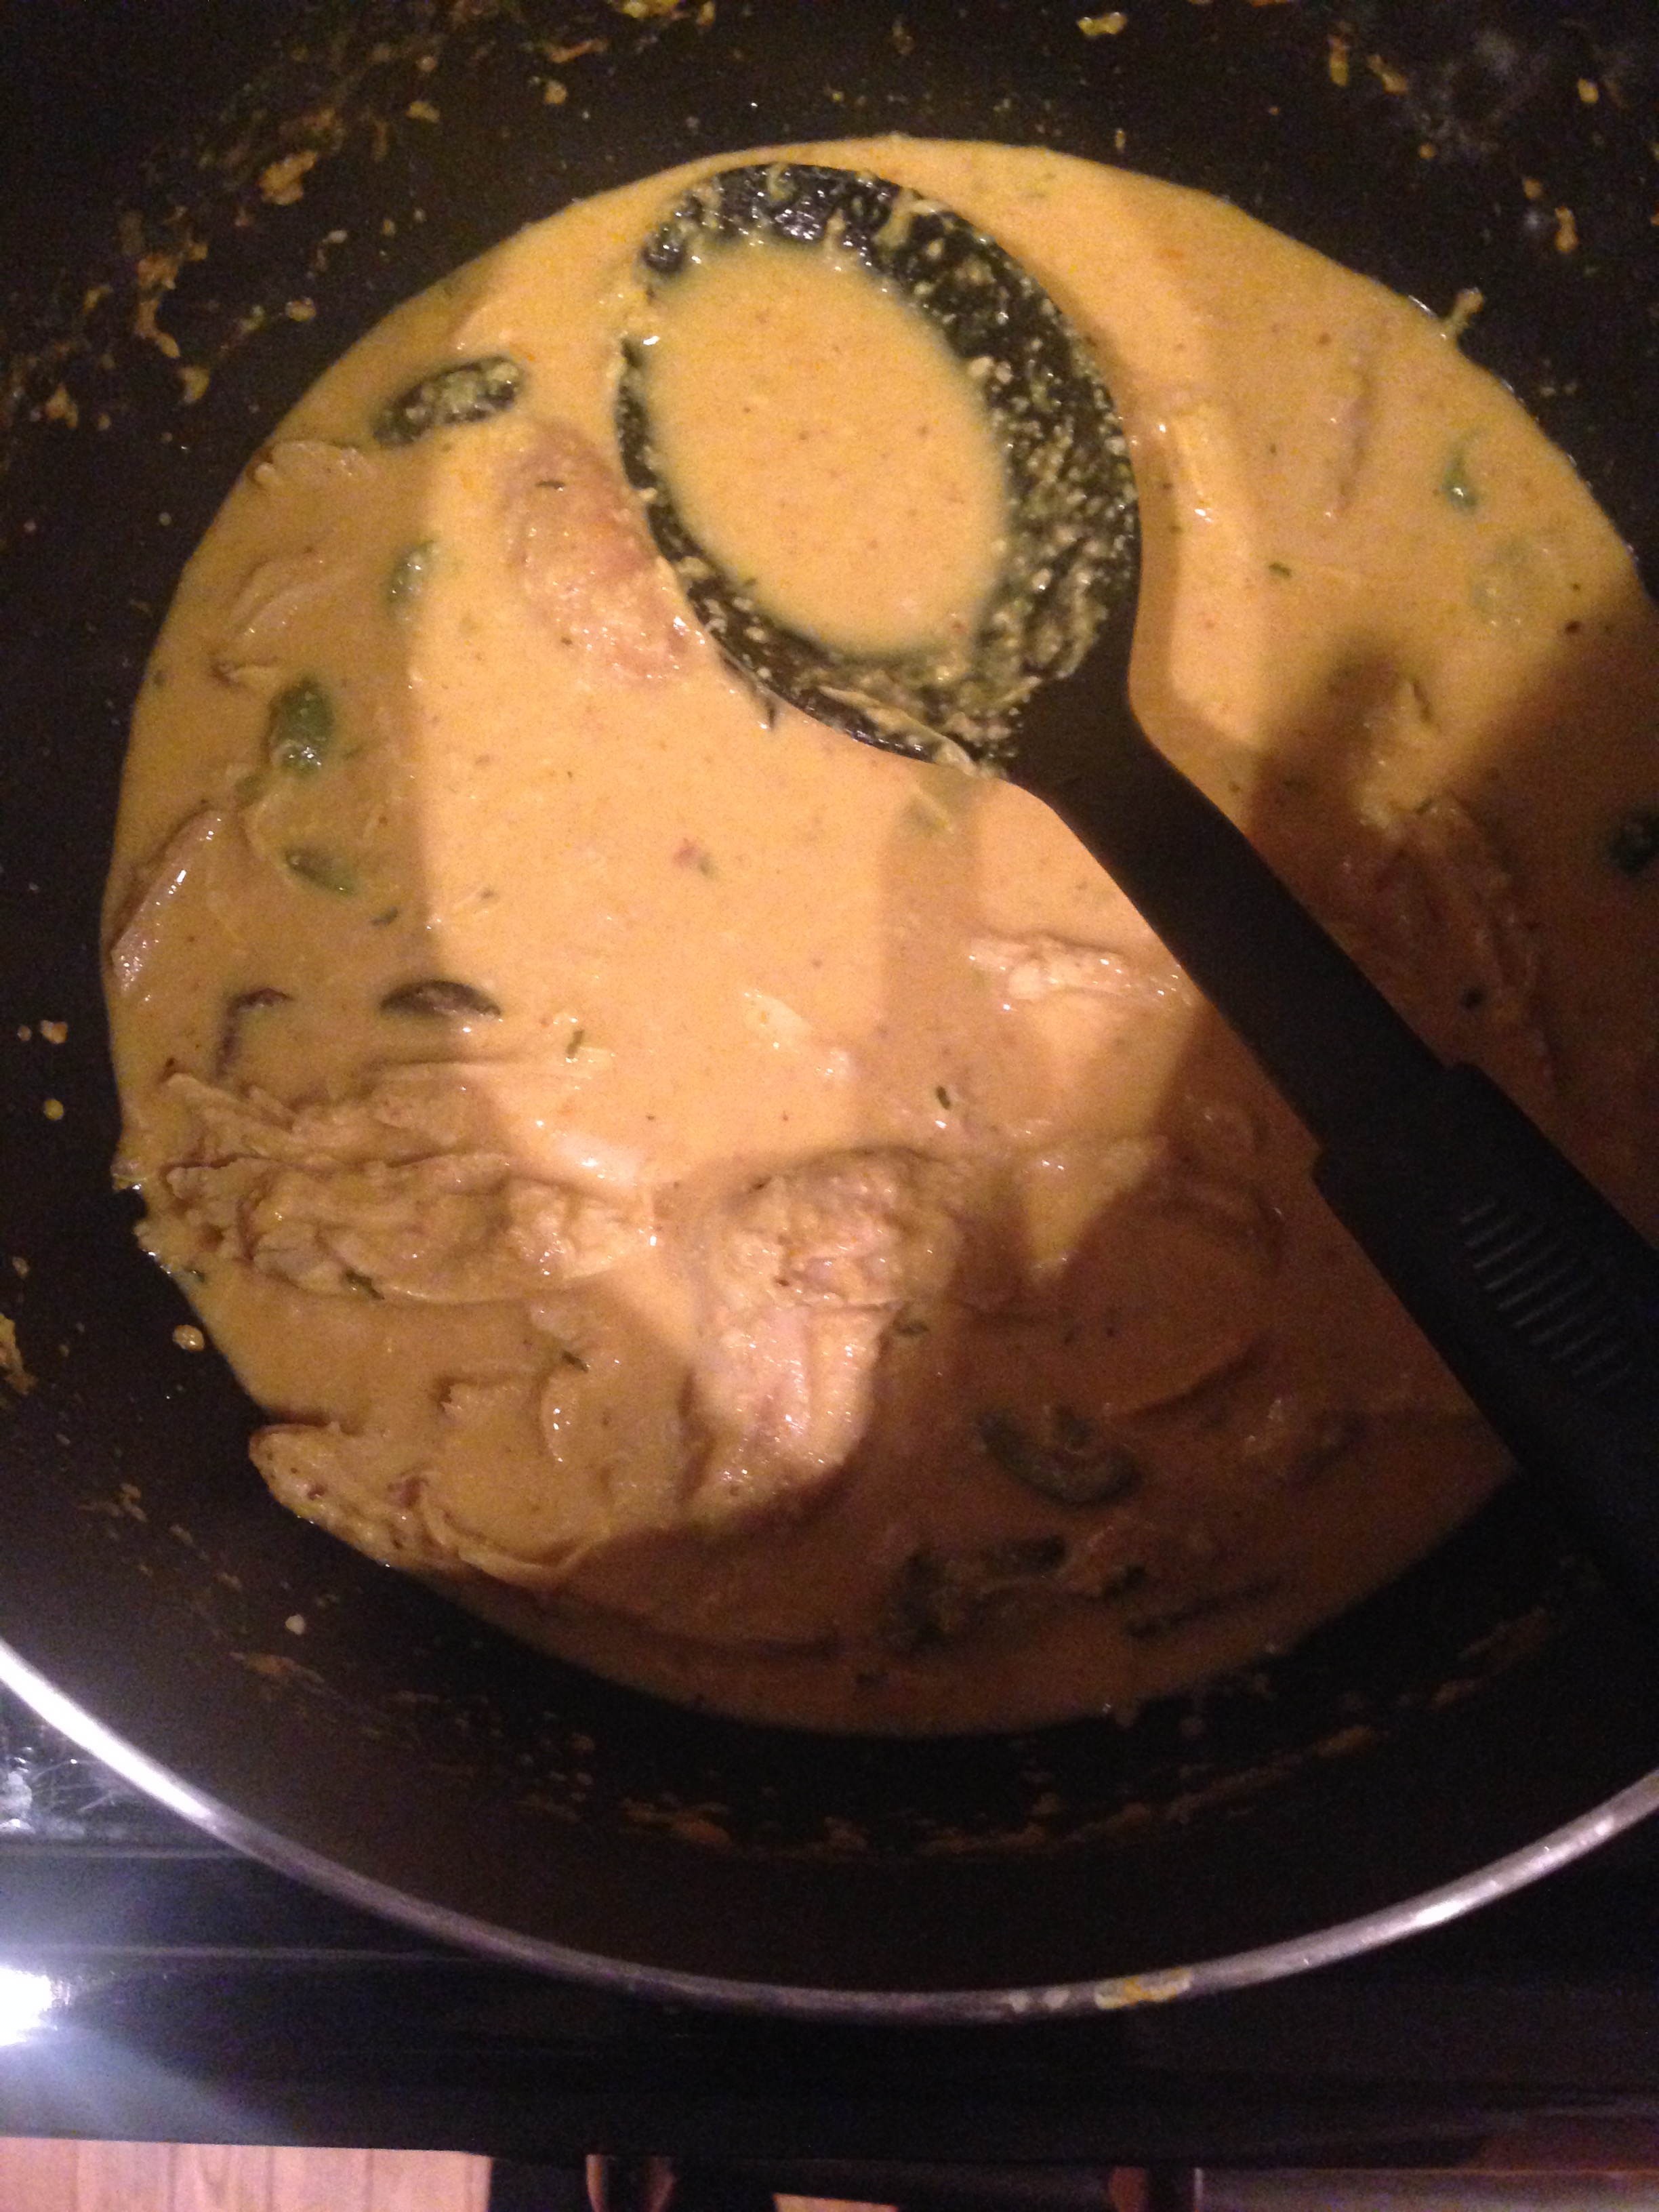
In a large mixing bowl, combine the yeast, sugar, and water, stirring until the yeast is dissolved. Let stand for 10 minutes until it becomes frothy. Mix in sugar, milk, butter, and salt. Using a dough hook (or by hand), slowly add in the flour until a dough forms and is no longer sticky. Roll 1 inch pieces of dough into little balls and set aside.

Preheat the oven to 400 degrees, and grease a bread pan.

In another mixing bowl, combine the basil, olive oil and pepper (feel free to add a dash of salt). Next, take the little dough balls, roll them in the basil olive oil mixture and begin to line them on the bottom of the bread pan. After 1 layer, scatter the cherry tomatoes, and some of the shredded mozzarella. Repeat these steps until you reach the top of the pan, tucking in any remaining tomatoes. Bake for roughly 30 minutes, or until the bread is golden brown.

Caprese pull apart bread_damndelish

Happy Eating, XO.

Pop It Like It’s Hot – Popovers

Remember how we told you in our challah recipe that making bread isn’t actually that daunting? Well, it still isn’t! And these pop-overs are proof of that. I whipped them together as a side and they were the perfect puffy compliment to our dinner. Also, because the steam “pops” the middle of them, it leaves room for you to get creative. Fill them with custard, berries, steak tips and sauce. (What?! Yes, go with me on this one. Think: Ghetto beef wellington.). These little guys are so versatile you can use them as a side dish, at brunch, or as a dessert. Also, bonus, you don’t actually need a pop-over pan. I’m all about having an excuse to buy another kitchen gadget or pan, but a muffin tin works just as well.

  • 1 cup flour
  • 1 tsp salt
  • 3/4 whole milk
  • 4 eggs, room temperature
  • 2 tbsp melted butter

Preheat the oven to 425 and swipe your muffin tin with butter. Place it in the oven while it preheats. It’s best to use a hot tin to create steam when the batter hits it. In a mixing bowl, combine all of the ingredients and whisk until smooth. The batter will be pretty liquid-y, you don’t want it to be thick.

Take the hot tin out and pour in the batter. Bake for roughly 20 minutes and whatever you do, please don’t open the oven to check on them! They won’t get to their full puffed up glory if cool air hits them before they have a chance to crisp on the outside. Enjoy them hot or store them in an airtight container for up to 3 days.

Popovers

Happy Eating, XO.

Peruvian Chicken Curry

I am bias and literally love all curries. I love sopping up bread or rice in them, they are typically super flavorful and filling too. I am very down to try any sort of curry. Even if it means ordering some of the ingredients from Amazon because I am too lazy to find out where Aji Amarillo paste is sold locally. I will say, building off of my general theme of sloth, I did not roast my own chicken for this recipe, like the original calls for. That’s right kids, grab a good old Rotisserie chicken from your supermarket and make sure you adequately de-bone, de-skin, and de-fat that before throwing into the curry. So yum and a lot quicker than roasting a bird yourself.

  • 1 slice whole wheat sandwich bread, crust removed, cut or torn into 1/2-inch pieces
  • 3/4 cup half-and-half
  •  2 tablespoons vegetable oil
  • 1 large or 2 small shallots, sliced
  • 2 cloves garlic, crushed
  • 1 cup low-sodium chicken broth
  • 2 cups (6 ounces) crumbled queso fresco or mild feta cheese (that sounded like a lot so I did one cup but 2 is probably right).
  • 1/2 cup finely grated Parmesan
  • 1/2 cup chopped walnuts, plus 1/3 cup toasted
  • 1 tablespoon Aji Amarillo paste (this was my Amazon order, shit is sooo good, I actually did 2 tbsp. because I like the kick)
  • 1/2 teaspoon turmeric (Again I wanted a brighter color so I did 1 tsp.)
  • 4 teaspoons kosher salt
  • 1/2 tablespoon chopped fresh cilantro or flat-leaf parsley leaves (I used dried because I didn’t have fresh, whatever).

**Peruvians typically garnish with chopped olives (I did black and green to add pops of salty color) and boiled eggs. Also note the curry is best served over Latin Rice (rice boiled with saffron threads).

Place the bread and half-and-half in the bowl of food processor or a blender. Allow the bread to soak up the liquid, about 10 minutes. In a 10-inch nonstick skillet heat the oil over medium-low heat. Add the shallots and cook, stirring occasionally, until soft, 3 to 4 minutes. Add the garlic and cook about 30 seconds. Cool slightly and add to the food processor with the soaked bread. Add the broth, cheeses, 1/2 cup walnuts, Aji Amarillo paste, and turmeric. Blend until smooth. Pour the sauce back into the skillet and bring to a simmer over medium heat. Simmer until slightly thickened, about 5 minutes. Season with salt & add in the chicken to heat everything through together.

Happy Eating, XO.

PS that’s all that was left in the pot before I could even get to the stove to take a picture!

IMG_8287


Romesco Sauce

Lately, I have altered my eating habits a ton and am doing smaller portions, more frequently in order to keep my metabolism working. Now, this isn’t a dietician or preachy post but I have been feeling a lot healthier and been dropping weight – so look into it as it might be something that suits your lifestyle.
Anyway I digress, because there is a point to my babble. TAPAS! Yes! That’s right, we have posted a few tapa recipes but this one is more about the delish Spanish sauce that is typically served with tapas. I know there is a place in Philly (shout out to Amada) that serves this with their ham croquettes. I’ve also had it with just a baguette, or on top of a tortilla (Spanish omelet). It’s so yummy and versatile and not heavy. It’s typically made in the Catalonia region of Spain (which for all of you that are geographically challenged, think Northern/Eastern Spain). So tasty, I had to recreate it for you all, see below and enjoy!
  • 1/4 cup marcona almonds, toasted
  • 1 (12-ounce) jar roasted red peppers, drained
  • 3 tbsp olive oil
  • 2 tbsp sherry vinegar (PS I didn’t have any so I subbed with red wine vinegar, same same).
  • 1 (15-ounce) can fire roasted tomatoes, drained, about 1 1/3 cups
  • 1/4 tsp cayenne pepper
  • 1 slice white bread (about 1-inch thick), crusts removed, toasted and torn into pieces
  • 1 large clove garlic, grated (I did 2 because I’m a Vampire at heart)
  • Kosher salt and freshly cracked black pepper
Puree in food processor, and EAT!! on anything and everything. Great with grilled veggies or meats. Now get outside and enjoy before its too cold!
Romesco Sauce - Damn Delish
Happy Eating, XO.

The Fresh French Baguette

Ok, guys. It’s high time we start taking it up a notch by making our own bread, a baguette to be exact. I can’t tell you how helpful this has been when throwing parties. Make a quick baguette (you don’t have to wait hours for this one to rise. It takes roughly an hour for prep and baking), bake it and cut it up. You can use the recipes we gave you for crostini, or toast, or go crazy with your own toppings! Whatever your heart desires. Sayonara store bought bread.

  • 1 1/2 cups lukewarm water
  • 1 tsp active dry yeast (Told you you’d use all of the yeast eventually)
  • 3 cups all-purpose flour
  • 1 tsp salt
  • **1 egg white wash (optional)

In a mixing bowl, combine the lukewarm water with the yeast. Whisk together then let it sit for roughly 10 minutes. Using a dough hook on slow speed, add all of the salt, and begin adding in the flour 1 cup at a time. If you don’t have a dough hook, you can mix together with a whisk or spatula. You should begin to see a soft dough form. If it’s still too wet and sticky, add a bit more flour. Take the dough out of the bowl and place on a floured surface. Let it sit for 5 minutes. (Sorry guys, I know this is a test of patience. I usually go wash the dishes I just used. Two birds, one stone.)

Preheat the oven to 170 degrees, and grease a cookie sheet or baguette pan. Using a greased knife, cut the dough in half and roll it out into a log/baguette. **If you want a crispy crust, whisk the egg white and brush on top of the dough.  Place the dough on the sheet or pan, and make 3 small, even slits across the top of each baguette. Bake for 15 minutes. Leaving the dough in the oven, turn it up to 400 degrees for another 15 minutes. Then turn the oven down to 350 for another 10 minutes.

Damndelish French Baguette

Happy Eating, XO.