Muffin Mania Part I

OK so sometimes I buy way too many veggies in attempt to eat healthier. Now we are at that moment in which they will go bad if not consumed soon and I just cant finish all of this myself. So, juicing is usually a good fallback option however I sold my juicer in attempt to buy a new pair of shoes, so there’s that. Good old Pinterest to the rescue. I searched for a recipe that would use ingredients I already had in my pantry/kitchen. What a yummy way to eat my veggies and a resolution to my overabundance problem!

  • 1 cup white whole wheat flour (I used all purpose because that’s all I had lying around)
  • ½ teaspoon ground cinnamon
  • 1 teaspoon baking powder
  • 3 tablespoons butter, melted and cooled (I forgot this, that’s what rushing to take photos does, don’t forget it, seems to be the element that adds a certain richness)
  • ½ cup pure maple syrup (I would also add a tbsp. of sugar because I don’t think they were sweet enough)
  • 1 large egg, beaten
  • 1 teaspoon vanilla extract
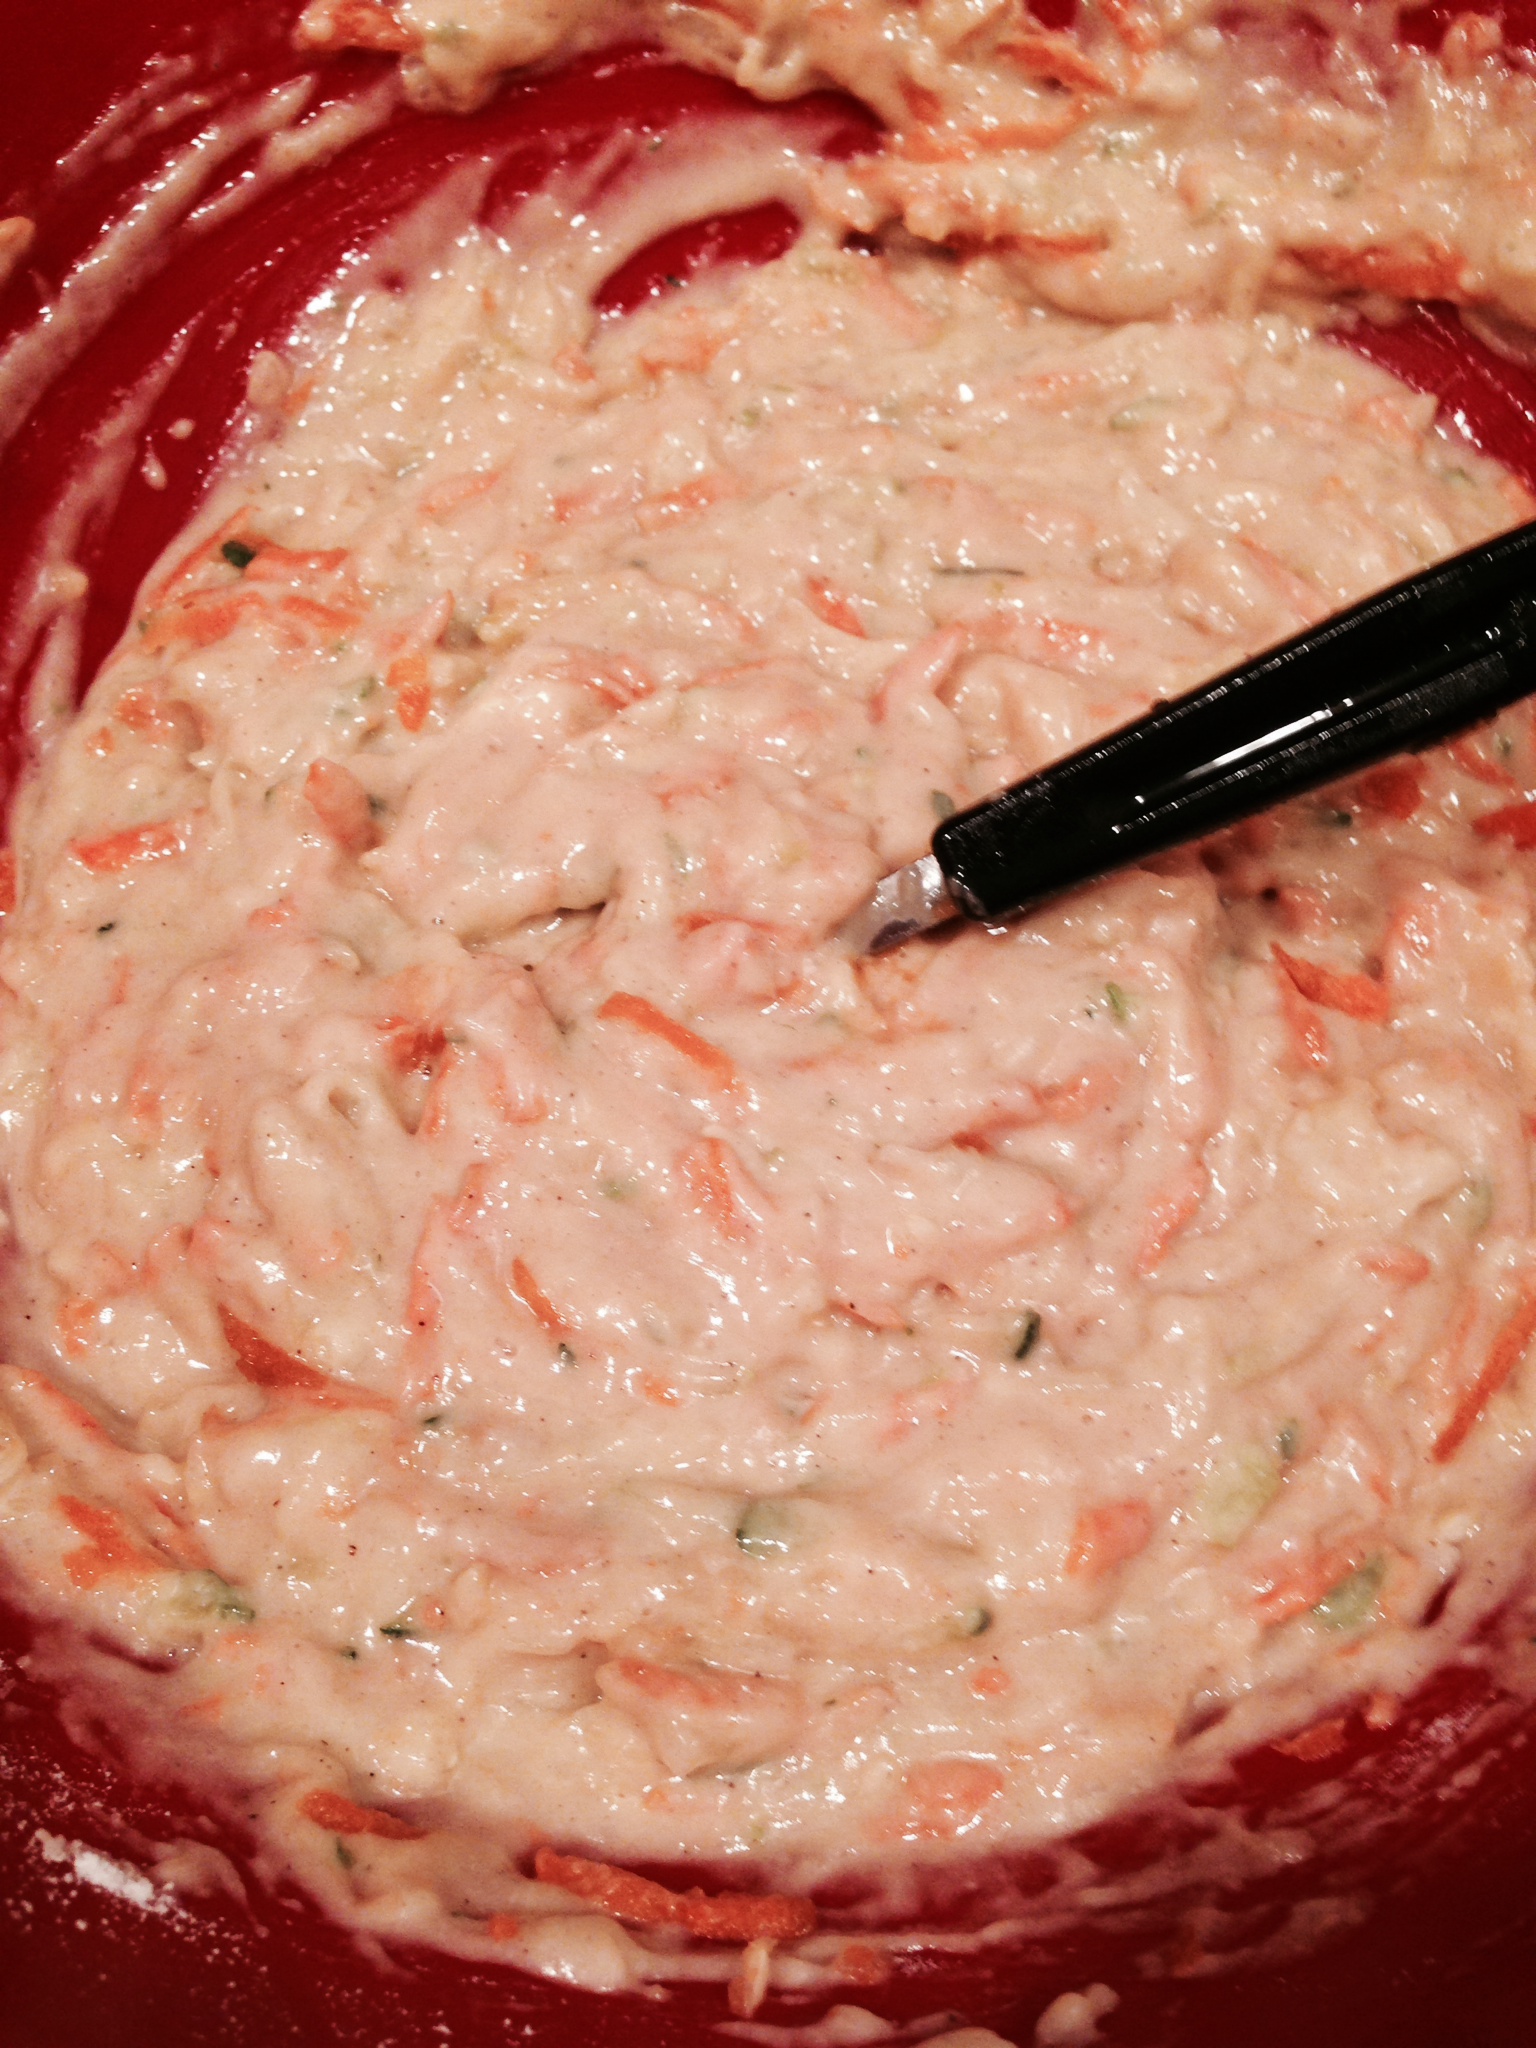
  • 1 cup grated zucchini
  • 1 cup grated carrot (original calls for 1/2 cup but I think it needs 1, came out too doughy)
  • Original recipe had raisins and nuts (walnuts or pecans would work best), I left out but its a good idea to add some more oompf to the muffins.
Preheat oven to 350°F and place rack in the center of the oven, and coat a mini muffin pan with nonstick cooking spray. Combine the flour, cinnamon, salt, and baking soda in a mixing bowl and whisk until thoroughly combined. Set aside. In a large mixing bowl, stir together the butter, maple syrup (& sugar), egg, and vanilla extract. Add the flour mixture to the wet ingredients and stir together until just barely combined. Add the zucchini, carrot, and stir gently until just distributed. Fill each cup in the mini muffin pan approximately ¾ full (my tins were only half full) Bake for 15-20 minutes or until a toothpick inserted in the center of a muffin comes out clean.
photo
Happy Eating, XO

A Hearty Breakfast of Kale, Quinoa & Egg

I don’t know if any of you have noticed, but it’s not that easy to eat a healthy (yet delicious) breakfast! Sure, our fruit parfait is really good, but for those of us who like savory dishes, what are we to do? I know it’s super late in the game, but I’ve been on a real kale kick lately (could be the pressures of bathing suit season!) so I did some testing for a really good kale breakfast. My mouth is salivating just writing this post…

Makes 1 serving

  • 2 big leaves of kale, cut in long strips (be sure to remove the leaves from the stem)
  • 1 tsp olive oil
  • 1/2 cup of cooked quinoa
  • 1 minced garlic shallot
  • 1 tsp butter
  • 1 egg

Cook the quinoa according to the package instructions. While that’s cooking, heat the olive oil and garlic together, then add in the kale. Cook the kale until it’s wilted.  By then the quinoa should be ready, so add it in to the pan with the kale and blend together. In a separate pan, add the teensiest bit of butter and fry your egg sunny side up. If you want it to look fancy, scoop the quinoa mix on to a plate and top with the egg.


Kale, Quinoa, Egg breakfast

Happy Eating, XO.

For those nights you just really can’t deal

Listen up here, I know this title may be shocking to some of you as this is a blog about recipes, but we all have those moments that we are just too tired or bored with our go-to meals that we need a little help from the outsiders. Below are some suggestions for the times where we can’t be bothered with grocery lists, grocery store lines, and just the whole thinking of how and what to make.

Blue Apron First batter up is, Blue Apron – Their claim to fame is: “A better way to cook. Fresh ingredients, great recipes  delivered weekly to your home”.

PlatedOur second contender (by the way this is in no specific order, definitely not in terms of preference either) is Plated – which is similar to the above in that they want you to: “Cook something extraordinary tonight. Chef-designed recipes & fresh ingredients delivered to your door”.

Fresh 20Last is this little gem that I referenced in my weeknight dinner recipe. It somehow got buried in the rambling of my blog post, Fresh 20 – means shopping for 20 Ingredients in 20 Minutes to prep the entire week’s meals. It takes an hour at the start of your week to save you valuable time during busy weeknights.

I don’t want to hear any of you ever sigh and say “I just can’t”. Good food doesn’t have to be a pain in the butt. Get your A game on and check out one of these sites to help you eat well with minimal effort.

Happy Eating, XO.

But first, let me eat a (fish) taco

Fish tacos are one of my absolute favorite summer meals (with a margarita, of course). I mean, you can’t go wrong with burgers and hot dogs, but fish tacos are the real treat. I first had them at a seafood restaurant in East Hampton with our friend Tara. At the time, I only ate salmon and these were made with Mahi Mahi. I was skeptical.  But once I took my first bite it was heaven!

Just like our crabby cakes, I always thought fish tacos would be too daunting to make – would I overcook the fish?! Would the sauce come out just right?! Well it turns out they were much easier to make than I thought. We’ve been doing a lot of grilling this summer and we started running out of new options so I figured, “what the hell?”.

Fish

  • 4 fillets of Mahi Mahi
  • 1 tbsp chili pepper
  • 2 tsp cayenne pepper
  • A pinch of salt
  • 4 soft tortillas

Sauce

  • 1/2 cup plain greek yogurt
  • 1 tbsp of mayo (Helmann’s, not Miracle Whip)
  • 1 cup of red cabbage, thinly chopped
  • 1/2 of a lime

Salsa

  • 2 cups of finely chopped cilantro
  • 1/2 red onion finely chopped (I used my multi-chopper for these)
  • 1/2 tomato finely chopped
  • 1/2 of a lime
  • (You could also add corn for a sweeter taste.)

Season the Mahi Mahi with the chili pepper, cayenne and salt, and grill for 15 minutes – approximately 7-8 minutes on each side. While the fish is grilling, in a small bowl mix together the cilantro, onion, tomato and lime juice. In a separate bowl, mix together the yogurt, mayo, cabbage and lime juice. When the fish is just about done, warm the tortillas on the grill. Layer the fish, sauce and salsa in the tortilla and enjoy!


Fish Tacos


You can jam along to this song while you’re cooking – “But first, let me eat a taco.”

Happy Eating, XO.

Foodie Fav: Veggie & The Beast

This is the first summer I’m attempting to grow an herb garden. (I say attempt because it could still all go down hill.). In it, I have chives, basil, cilantro, and peppermint, and by some act of God, I haven’t killed any of them yet. If I haven’t mentioned this already, I have a black thumb. I can barely keep a fake tree alive…

Well, I’m getting to a point where I have too many herbs and I can’t use them fast enough. I started researching some simple, “whip-it-together” recipes that I can use these herbs in and came across this fantastic food blog – Veggie & The Beast, and their literal “whip-it” style recipe. I made this for a BBQ last weekend and it was a hit. It’s so delish and refreshing, and the basil from my garden was the perfect topping.

Whipped Basil Ricotta

  • 1 (15-ounce) container whole-milk ricotta
  • ¾ cup fresh basil
  • ½ teaspoon kosher salt (plus more to taste)
  • 5 ounces cream cheese, softened

Strawberry Balsamic Crostini

  • 1 (15-ounce) whole wheat baguette
  • ¼ cup olive oil
  • ¼ teaspoon kosher salt
  • ½ pound strawberries, hulled and chopped
  • ¼ cup basil, sliced or chopped
  • ½ cup balsamic vinegar
  1. Place the ricotta and ¾ cup basil in a food processor, and process until smooth. There may be some small pieces of basil left, but the color of the ricotta should be a light green. Add salt and cream cheese, and pulse a few times until the cream cheese is fully incorporated. Taste and add more salt if you’d like.
  2. Pour the balsamic into a small saucepan and bring to a boil. Reduce heat to medium-low, and let simmer for 15-20 minutes, until it has reduced by half. Set aside to cool while you get the other ingredients ready (it will thicken slightly in this time)
  3. Preheat oven to 350.
  4. Slice the baguette into ¼-inch slices. Brush both sides with olive oil. Sprinkle the top of the bread with salt.
  5. Bake for 15 minutes, until lightly golden.
  6. Slice or chop the additional ¼ cup fresh basil leaves for garnish.
  7. Let the baked bread cool for 5 minutes, then spoon on the basil ricotta, top with strawberries and additional sliced basil, and finish with a drizzle of the balsamic glaze.


 whipped-basil-ricotta-and-strawberry-crostini